AI Influencer Workflow: Plan a Week of Posts Without Juggling Five Tools
An AI influencer workflow is six steps: plan the week, lock one face and voice, make the image, animate it into a Reel, approve it and schedule or publish it, and answer the DMs and comments it brings in. Most guides stop at “publish”, but a working influencer workflow ends when the inbox is answered, because that’s where an earning persona makes its money.
Below is the full loop, the way a solo operator can run a week of posts for one persona in one sitting, instead of copying files between five separate tools. For the broader problem of stacking disconnected AI tools, see AI content workflow for creators: stop stacking tools.
The short answer: the AI influencer workflow in 6 steps
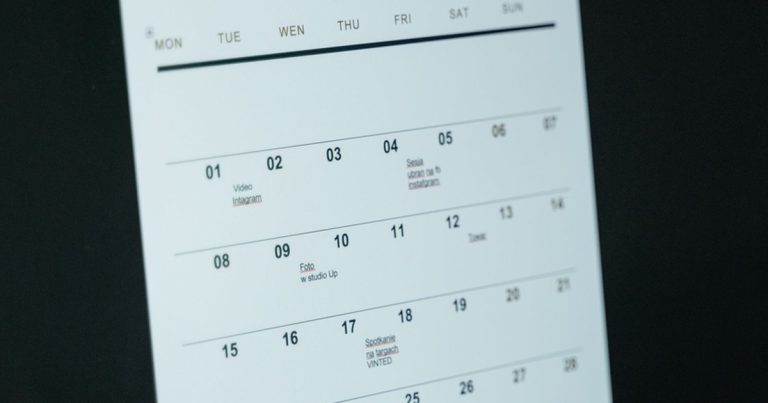
- Plan the week. Ideas, scripts, captions and hashtags for 5-7 posts, each planned on your week calendar.
- Lock the persona. One avatar built from your own 1-5 photos, and one brand voice per avatar.
- Make the image first. Get the still right before you spend anything on video.
- Animate it and finish the Reel. Use the still as the first frame, then add voiceover, caption and hashtags.
- Approve, then schedule or publish. Once a Reel is rendered, you approve it, then schedule it for a date and time or publish it now. Schedule or publish to Instagram and Threads, plus Facebook if you connect your Instagram business account through Facebook login.
- Answer the inbox. Comments, DMs and Threads replies sit in one inbox. The inbox drafts each reply; you click Send on each one.
What is an influencer workflow (and why AI changes it)?
An influencer workflow is the repeatable path a post takes from idea to audience. For a human creator, the slow part is filming. For an AI persona, filming disappears and a different job takes its place: production management. You write a prompt in one tool, generate a face in another, animate it in a third, write captions in a fourth, then post and answer messages in a fifth. Each hand-off means downloading, renaming and re-uploading files, and every hop is a chance for the face to drift or the caption to lose the persona’s voice.
The pages ranking for this today describe that pipeline well. RYLA’s 7-stage pipeline and Astorie’s identity / template / variables model both make a strong case for building the identity once and reusing it. The point most of those guides skip is that correspondence is the only job that grows with your audience. This guide keeps the parts that work and puts the inbox back inside the workflow, where it belongs.

Step 1: Plan a week of posts in one sitting
Batch the thinking. In one session, decide 5-7 posts for the week: the idea, a short script or hook, the caption and the hashtags. Then plan each one on your week calendar. Planning a post doesn’t publish it: each one still waits for you to render it, approve it, and then schedule it or publish it now (Steps 4-5).
A simple week for one persona might look like this:
- 2 Reels in your main content pillar (the thing people follow the persona for)
- 1 behind-the-scenes or “day in the life” Reel
- 1 Reel that answers a question from last week’s DMs
- 1-3 lighter posts (a photo, a trend, a reply to a comment)
Answering last week’s DMs with this week’s content is the easiest planning shortcut there is. Your inbox tells you what the audience wants to see next.


Step 2: Lock one face and one voice per persona
Consistency is the whole game for an AI persona. Build the avatar once from your own 1-5 reference photos, and set a brand voice per avatar so captions and replies sound like the same personality every time. If you run more than one persona, each gets its own face and its own voice, and they never borrow from each other.
For the full method on keeping a face stable from stills into video, read how to keep an AI influencer’s face consistent.
Step 3: Image first, then video
Generate the still before the clip. Pick the best image, check the face, hands and background, and only then animate it. Using the approved photo as the first frame of the video is the single biggest reason a Reel keeps the same face as your feed photos. It’s also cheaper: re-rolling a still costs far less than re-rolling a video.
The video itself is rendered by third-party AI models. When you want a clip to copy the movement from a reference video (motion transfer), that’s done with Kling, a third-party model. The Reel in the clip was rendered with Wan 3.0, a third-party video model.

Steps 4-5: Finish each Reel, approve it, then schedule or publish it
A clip isn’t a Reel yet. Add the voiceover, the caption you wrote in Step 1 and the hashtags, and give it one last look as a viewer would see it on a phone. Add a short AI disclosure to your caption (I do this on my twin’s posts), then check Instagram’s AI label yourself before you publish or schedule.
Then approve it. Once a Reel is rendered, watch it and approve it. After that you have two choices: Schedule it with the date and time picker, or choose Publish now. Schedule or publish to Instagram and Threads, plus Facebook if you connect your Instagram business account through Facebook login. You can also publish a finished Reel from the Content Library. There’s no export, no download to your phone and no re-upload, and nothing is scheduled or published until you approve it, so a human decision stays on every post your persona puts out.
Step 6: The part other workflows skip, the inbox
A post that lands brings messages: fans, buyers asking for a link, brands asking about a deal, and spam. If they sit unanswered, the post did its job and you still lose the sale. That’s why this AI influencer workflow ends in the inbox, not at Publish. Comments, DMs and Threads replies sit in one place.
- Draft and send: the inbox drafts each reply in the persona’s voice. You read it, edit if you want, and click Send on each one. Nothing goes out without you. Reply to the first wave of comments quickly, since early engagement helps the post.
- Feed it back: note the questions you keep getting and turn the best ones into next week’s posts (back to Step 1).
If you’re still deciding which parts of content creation to hand to AI at all, start with how to automate your content creation workflow with AI.

How long does an AI influencer workflow take per week?
It depends on how many posts you make and how big your inbox is. The production steps shrink fast once the face and voice are locked; the inbox is the part that keeps growing as the audience does. Batch planning into one session and answering DMs from drafted replies are the two biggest time savers.
Before, I spent about 2-3 hours a day on content. Now it’s about 2-3 hours a week. That’s my experience, not a guarantee.
What it costs to run this workflow
AI Influencer Suite has three plans: Creator at $29/month, Pro at $79/month, and Partner at $99 every 6 months. See the pricing page for what each includes. You can see every feature in the workflow in the docs, or how AI Influencer Suite compares with other tools.
FAQ
What is an AI influencer workflow?
It’s the repeatable process for running an AI persona: plan posts, keep one consistent face and voice, generate images, turn them into Reels, approve each one then schedule or publish it, and answer the DMs and comments the posts bring in.
How many posts a week should an AI influencer make?
Most solo operators aim for 5-7 posts a week for one persona. Consistency matters more than volume, so pick a number you can keep up every week, inbox included.
How do I keep my AI influencer’s face consistent across posts?
Build the avatar from the same 1-5 reference photos, make the still first, and use that approved image as the first frame of each video.
Can I post to Instagram straight from an AI tool?
Yes. In AI Influencer Suite you approve each finished Reel, then schedule it for a date and time or publish it now, with no download and re-upload. Scheduling and Publish now work for Instagram and Threads, plus Facebook if you connect your Instagram business account through Facebook login.
How do I handle DMs and comments on an AI influencer account?
Use the inbox, where comments, DMs and Threads replies sit in one place. It drafts each reply in the persona’s voice for you to approve; you click Send on each one. Turn repeat questions into next week’s content.